How to Harden Die Casting Molds Correctly
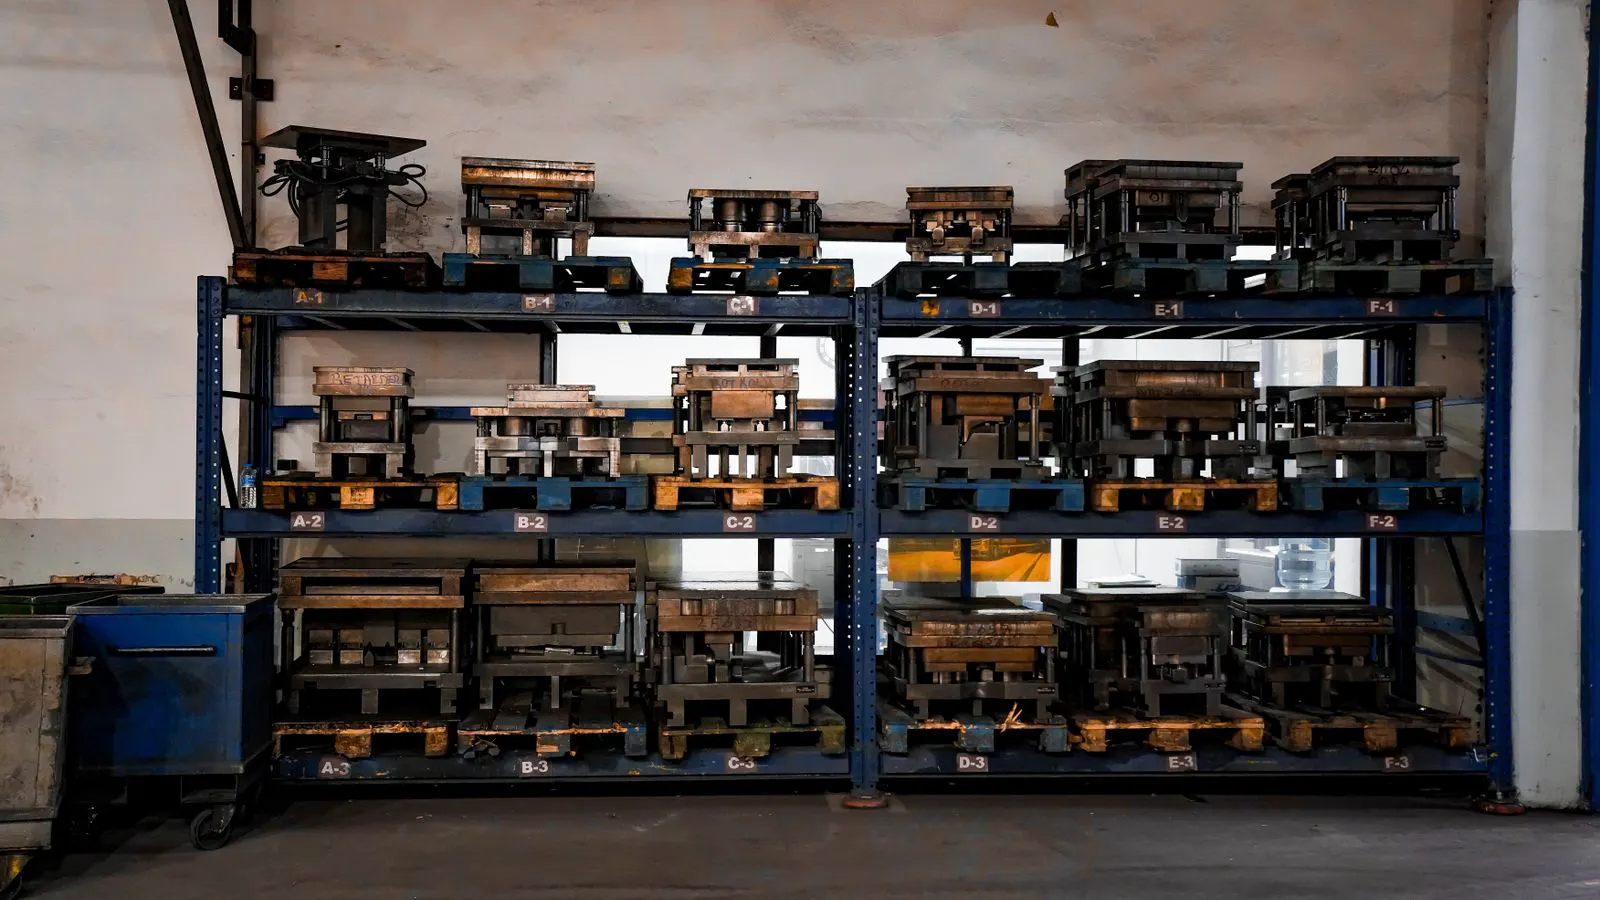
Correct die hardening requires selecting appropriate mold steel, preheating, quenching, and tempering. This guide provides step-by-step instructions to prevent cracking, ensure dimensional stability, and extend the lifespan of your die casting tools.
- Match mold steel grade to alloy type and production volume to ensure proper die hardening outcomes.
- Preheating and controlled quenching are critical to prevent thermal shock and die cracking during heat treatment.
- Temper at the correct temperature to achieve the required hardness without introducing internal stress.
- Verify final hardness and dimensions after heat treatment to confirm the mold is ready for production.
- Document all heat treatment parameters to maintain traceability and quality control across production runs.
Why Proper Die Hardening Matters for Die Casting Tools
Die casting molds face extreme thermal cycling, high pressure, and abrasive metal flow during production. Without proper die hardening, surface wear accelerates, dimensional stability drops, and the tool life shortens significantly. Correct heat treatment balances surface hardness with core toughness, creating a mold that resists wear while withstanding the mechanical and thermal stresses of casting.
The process is not one-size-fits-all. The selected mold steel, preheating temperature, quenching medium, and tempering schedule must align with the alloy being cast and the expected production run. Engineers who treat die hardening as a standardized procedure without adjusting for material and application often face premature die failure or costly rework.
This guide walks through the step-by-step process for selecting and executing the right hardening process for die casting tools.
What Are the Prerequisites for Die Hardening?
Before any heat treatment begins, the die must be in the correct condition. The following prerequisites must be met:
- The die has been fully machined, polished, and deburred.
- All machining marks, burrs, and sharp corners have been removed.
- The die is clean, free of oil, coolant, and contaminants.
- The mold steel grade is confirmed and documented.
- The required hardness target is defined based on the casting alloy and production volume.
Skipping these steps leads to uneven heating, surface defects, and inconsistent hardness throughout the die.
How to Select the Right Mold Steel for Die Hardening
The choice of mold steel determines the achievable hardness, toughness, and wear resistance of the finished die. The steel must be compatible with the casting alloy and the expected service conditions.
| Mold Steel Grade | Typical Use | Key Characteristics |
|---|---|---|
| H13 | Aluminum and copper alloys | High toughness, good wear resistance, suitable for medium to long runs |
| P20 | General purpose | Balanced properties, widely available, cost-effective for standard production |
| S136 | Magnesium alloys | Excellent thermal conductivity, low carbon, suited for short to medium runs |
| H2 | High-pressure die casting | High carbon, high hardness, best for long production runs |
| 20NiCrMo | High-pressure die casting | Excellent wear resistance, high hardness, used for demanding applications |
The steel selection must match the thermal shock resistance required. For example, casting magnesium alloys with a standard H13 die may lead to cracking due to the high thermal conductivity of the alloy and the rapid cooling of the mold surface.
Step-by-Step Guide to Die Hardening
Follow these steps to execute the heat treatment process correctly. Each step includes the reason it is required.
-
Inspect and clean the die. Remove all machining residue, oil, and coolant. Reason: Contaminants on the surface create uneven heating and can lead to surface defects or decarburization during heating.
-
Preheat the die in a controlled furnace. Heat the die to the recommended preheat temperature for the steel grade, typically between 800°C and 1050°C. Reason: Preheating reduces thermal shock during quenching, prevents cracking, and ensures uniform temperature throughout the die.
-
Hold at preheat temperature. Maintain the die at temperature for the required soak time, usually 30 to 60 minutes per 25 mm of thickness. Reason: This allows the entire cross-section to reach a uniform temperature, reducing the risk of distortion and uneven hardness.
-
Quench the die. Transfer the die from the furnace to the quenching medium. Reason: Quenching rapidly cools the surface, transforming the steel structure to achieve high hardness. The medium must be selected based on the steel grade and die size.
-
Control the quenching medium. Use oil for large dies or high-toughness steels, and polyglycol or brine for smaller dies or high-hardness steels. Reason: The quenching medium controls the cooling rate. Too fast a rate causes cracking; too slow a rate results in insufficient hardness.
-
Temper the die. After quenching, the die is brittle and must be tempered at a lower temperature, typically between 500°C and 600°C, for several hours. Reason: Tempering relieves internal stresses, improves toughness, and stabilizes the microstructure without significantly reducing hardness.
-
Cool to room temperature. Allow the die to cool slowly in the tempering furnace or ambient air. Reason: Rapid cooling after tempering can reintroduce stress and cause distortion.
-
Measure hardness and dimensions. Use a Rockwell or Vickers hardness tester to verify surface hardness. Check critical dimensions with CMM or micrometers. Reason: This confirms the heat treatment achieved the target properties and that the die has not distorted beyond tolerance.
-
Document the process. Record preheat temperature, soak time, quenching medium, tempering temperature, and final hardness readings. Reason: Documentation provides traceability, supports quality audits, and guides future die maintenance or re-hardening.
Common Mistakes in Die Hardening
Even experienced engineers can make errors that compromise die performance. The most frequent mistakes include:
- Skipping preheating. This causes rapid thermal contraction and cracking, especially in large or thick sections.
- Using the wrong quenching medium. Oil quenches more slowly than brine. Using brine on a large die leads to severe distortion and cracking.
- Inadequate tempering time. Insufficient tempering leaves the die overly brittle, leading to chipping or fracture during production.
- Quenching a dirty die. Oil or coolant trapped on the surface creates localized heating and cooling, resulting in uneven hardness.
- Not verifying final hardness. Assuming the process worked without measurement can lead to dies that fail prematurely or exhibit poor surface finish.
Each of these mistakes can be avoided with proper planning, correct equipment, and disciplined process control.
How to Verify Die Hardening Success
The final step after heat treatment is verification. The die must be checked for hardness, dimensions, and surface condition before it enters production.
- Hardness test. Measure hardness at multiple points across the working surface. The reading must fall within the specified range for the steel grade and application.
- Dimensional check. Verify critical bore, land, and gate dimensions. Heat treatment causes some shrinkage, and the die must still meet casting tolerances.
- Surface inspection. Look for decarburization, cracking, or uneven surface finish that may indicate quenching or preheating problems.
- Visual inspection of core and surface. Check for internal stress indicators, such as discoloration or uneven tempering marks.
If any check fails, the die must be reprocessed or scrapped. A defective die will cause defects in every casting produced, leading to significant cost and downtime.
How to Maintain Die Hardening Over the Tool Life
Die hardening is not a one-time event. As the die wears, the surface hardness decreases, and the mold may require re-hardening or a new heat treatment cycle.
- Monitor the surface finish and wear after a set number of shots, such as every 5,000 to 10,000 shots depending on alloy and die size.
- Track production counts and correlate with surface condition to predict when re-hardening is needed.
- Keep records of all heat treatment cycles, including dates, parameters, and hardness results.
- Plan re-hardening during scheduled downtime to avoid production delays.
Regular maintenance and monitoring extend the life of the die and ensure consistent casting quality throughout the production run.
How to Reduce the Risk of Die Failure After Heat Treatment
Even a correctly executed heat treatment can fail if the die is handled or used improperly. To reduce the risk of failure:
- Allow the die to cool completely before machining or assembly.
- Avoid exposing the die to extreme temperatures during storage.
- Use proper lubrication and mold release agents during production to reduce thermal shock.
- Follow a die maintenance schedule that includes regular cleaning, inspection, and lubrication.
These practices work in tandem with proper die hardening to maximize tool life and reduce unexpected downtime.
How to Choose a Heat Treatment Partner
If your facility does not perform die hardening in-house, selecting the right heat treatment provider is critical. Look for a partner that:
- Specializes in die casting tool heat treatment.
- Uses calibrated furnaces and continuous temperature monitoring.
- Provides full documentation of the heat treatment process.
- Has experience with your specific mold steel grades and die sizes.
- Offers post-treatment hardness and dimensional verification.
A qualified partner will understand the application and can recommend the optimal preheat, quenching, and tempering parameters for your specific die.
Summary
Die hardening is a critical process that determines the performance and lifespan of die casting molds. Success depends on selecting the right mold steel, executing a controlled heat treatment process, and verifying the final properties. By following the steps outlined in this guide and avoiding common mistakes, engineers can ensure their dies meet hardness targets, maintain dimensional stability, and deliver consistent casting quality throughout production.
Frequently asked questions
What is the recommended quenching medium for large die casting molds?
Oil is generally preferred for large dies because it provides a slower cooling rate, reducing the risk of cracking and distortion. The specific oil type should be matched to the mold steel grade.
How do I know if my die needs re-hardening?
Monitor surface wear and finish after a set number of shots. If the surface hardness drops below the target range or the finish degrades significantly, the die should be re-hardened.
Can a die be re-hardened multiple times?
Yes, a die can be re-hardened multiple times, but each cycle reduces the die life. The number of cycles depends on the steel grade and the severity of the production conditions.
What happens if the die is quenched too quickly?
Quenching too quickly causes rapid thermal contraction, which can lead to cracking, distortion, or uneven hardness. The cooling rate must be controlled to match the die size and steel grade.
Is it possible to harden a die without a proper furnace?
No. Proper die hardening requires controlled heating, preheating, and tempering that can only be achieved with calibrated industrial furnaces. Inconsistent heating leads to defective dies.