Die Maintenance Checklist for Long-Run Production
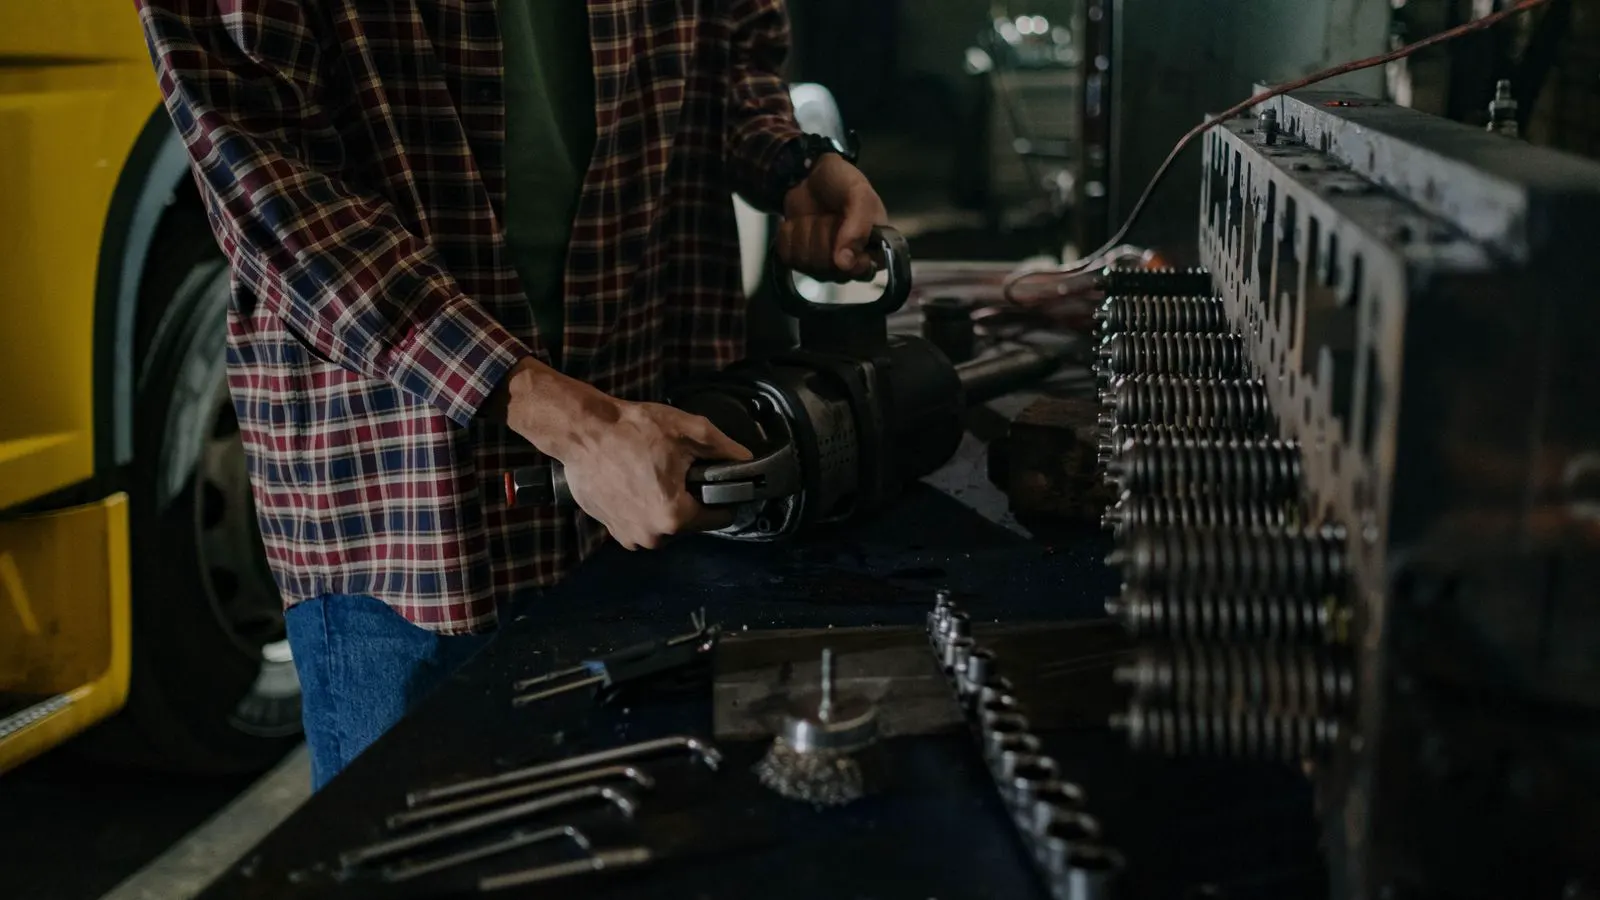
A structured die maintenance routine helps engineers inspect critical surfaces, lubricate moving parts, and identify wear early. This checklist covers pre-production, in-run, and post-run checks to maximize tool life and ensure consistent casting quality during extended production.
- Perform a full physical inspection of the die before and after every production shift.
- Monitor lubrication and cooling systems continuously to prevent thermal shock and corrosion.
- Use a standardized scoring system to track wear patterns on critical surfaces.
- Keep spare parts and consumables on hand to minimize downtime during long runs.
- Document all maintenance actions to create a traceable history of tool life.
Extended production runs place unique stress on die casting tooling. Heat cycling, high tonnage, and constant friction can accelerate wear on critical surfaces. A structured die maintenance routine is essential to prevent sudden failures and maintain consistent part quality.
What should be checked before the first shot?
Before starting a long run, verify that the die is in a known good state. This baseline inspection prevents compounding minor issues into major failures.
- Visual Inspection of Cavity and Core: Look for visible damage, such as dents, cracks, or excessive scale buildup. Check the parting line for any signs of separation or misalignment.
- Lubrication System Check: Ensure all lubrication lines are clear and that the oil reservoir is full. Verify that the correct viscosity of die release oil is being used.
- Cooling Channel Integrity: Run water through the cooling channels to check for blockages or leaks. Inconsistent cooling is a primary driver of uneven wear.
- Ejector Pin Function: Manually cycle the ejector pins to ensure they move freely. Sticking pins can damage the die surface and the finished part.
How often should you inspect the die during the run?
During extended production, wear does not happen all at once. It accumulates in specific areas based on part geometry and material flow. Regular in-run checks allow for corrective action before quality drops.
- Every 2 Hours: Perform a quick visual check on the parting line and critical parting surfaces.
- Every 4 Hours: Check the lubrication level and top up if necessary. Inspect the die release oil for contamination.
- Daily (or 500 Shots): Perform a more thorough inspection of the ejector pins and any areas prone to flash formation.
What are the primary causes of accelerated die wear?
Understanding the root cause of wear helps you target your maintenance efforts. Accelerated wear is rarely caused by a single factor; it is usually a combination of thermal, mechanical, and chemical stressors.
| Wear Factor | Description | Maintenance Countermeasure |
|---|---|---|
| Thermal Cycling | Repeated heating and cooling creates thermal stress. | Optimize cooling channel layout and water flow rates. |
| Mechanical Friction | High tonnage and part ejection cause surface abrasion. | Apply high-quality die release oil and check lubrication pressure. |
| Corrosion | Moisture and acidic die release agents attack the steel. | Use die preservatives and ensure proper drying. |
| Improper Handling | Dropping or striking the die causes physical damage. | Implement strict handling protocols and use proper lifting equipment. |
How can you extend tool life with proper lubrication?
Die release oil is not just a release agent; it is a critical part of the die maintenance process. The right lubricant protects the die surface from corrosion and reduces friction during the ejection cycle.
- Select the Right Viscosity: Use a lower viscosity oil for high-velocity machines and a higher viscosity oil for slower, high-tonnage operations.
- Check for Contamination: If the oil turns cloudy or smells burnt, replace it immediately. Contaminated oil loses its protective properties.
- Monitor Pressure: Inconsistent lubrication pressure can lead to dry spots on the die surface. Adjust the pump to ensure even coverage.
What are the red flags for early die failure?
Ignoring early warning signs can lead to catastrophic die failure, resulting in significant downtime and scrap. Watch for these specific indicators:
- Increased Flash: Flash at the parting line often indicates that the die surfaces are no longer sealing properly due to wear or misalignment.
- Sticking Parts: If parts are not ejecting easily, check the lubrication system first. If the system is working, the die surface may be developing a scale or rust layer.
- Visible Discoloration: Blue or purple heat tint indicates localized overheating. This can lead to temper loss and reduced hardness of the die steel.
- Uneven Cooling: If one side of the die is consistently hotter than the other, check for blocked cooling channels.
How should you document the maintenance routine?
Consistency is key to long-run production. A standard operating procedure (SOP) ensures that every operator performs the same checks in the same order.
- Create a Logbook: Use a digital or physical log to record daily maintenance activities.
- Track Defects: Note any defects found in the parts and correlate them with specific die features.
- Record Repairs: Document any polishing, plating, or part replacement performed on the die.
- Review Trends: Analyze the logbook weekly to identify patterns in wear and adjust the maintenance schedule accordingly.
What consumables should you keep on hand?
Being prepared for minor repairs can prevent a long production run from being halted by a small issue. Keep a “die maintenance kit” ready with the following items:
- Die Release Oil: Sufficient quantity for the length of the production run.
- Die Preservative: For storing the die between shifts or if a delay is expected.
- Polishing Materials: Fine abrasive compounds for removing minor scale or rust.
- Spare Ejector Pins: A few common sizes to replace worn or broken pins quickly.
- Coolant Additive: To maintain the proper chemical balance of the cooling water.
By following this structured die maintenance checklist, you can significantly extend the life of your mold tooling. Consistent care reduces the risk of unexpected downtime and ensures that your long-run production remains stable and profitable.
Frequently asked questions
How often should I inspect the parting line during a long run?
Check the parting line every two hours during the run. This helps you catch early signs of flash or misalignment before they affect part quality.
What is the best die release oil for long-run production?
The best oil depends on your machine speed and tonnage. High-speed machines typically require a lower viscosity oil, while high-tonnage operations benefit from a higher viscosity oil for better protection.
Can I use a die preservative during active production?
No. Die preservatives are designed for storage and will interfere with the release of the molten metal. Use only die release oil during production.
How do I know if my cooling channels are blocked?
Run water through the channels and check for flow restrictions or leaks. If one side of the die is consistently hotter than the other, the cooling channels are likely partially blocked.
Is polishing the die necessary during a long run?
Polishing is a corrective measure, not a routine maintenance step. Only polish the die if you find minor scale or rust that is affecting part quality or lubrication.