Troubleshooting: Rough Edges After Die Cast Grinding
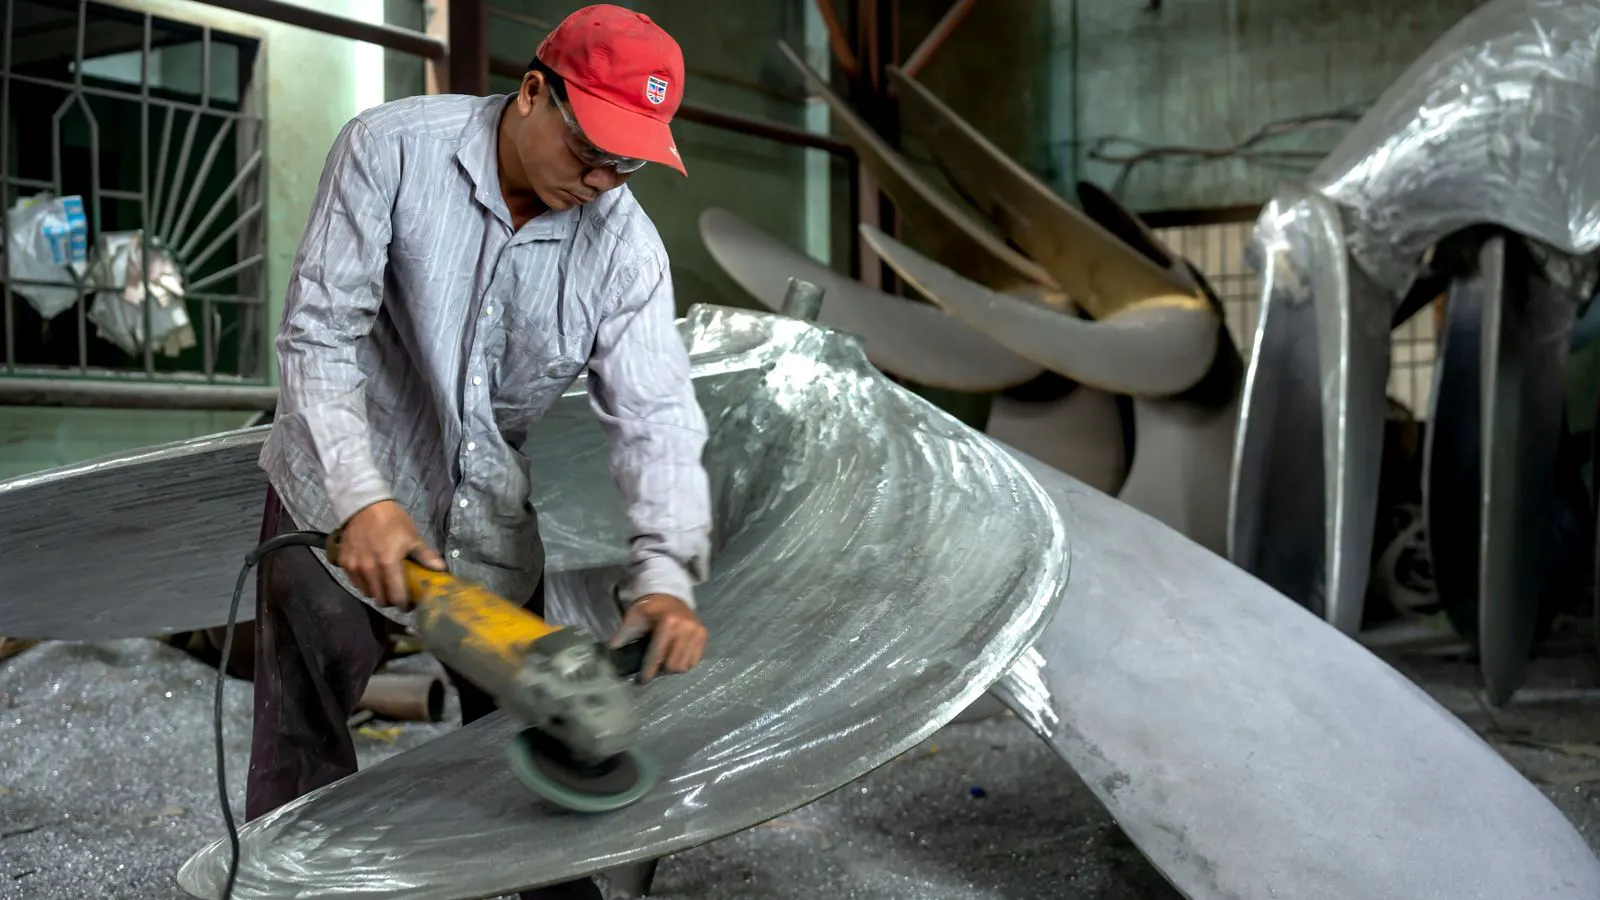
Rough edges after grinding usually trace back to improper tooling, feed rates, or part handling. This guide lists common symptoms, likely causes, and fixes for die casting finishing defects, plus prevention tips for post casting operations.
- Rough edges after die casting grinding often come from dull tooling, incorrect feed rates, or part movement during operation.
- Inspect the ground surface under magnification to distinguish grinding marks from casting defects or heat damage.
- Standardize workholding and tooling changes to keep post casting operations consistent across batches.
- Document each grinding pass and verify surface finish before moving parts to the next operation.
- Prevention is cheaper than rework. Tighten tolerances on setup and validate tool condition before starting production runs.
Rough edges after die casting grinding show up in three ways: visible burrs, a scratched or uneven surface, and heat marks that change the part color. Each symptom points to a different problem in the post casting operations workflow. The fix is not always slower grinding. Sometimes the tool is wrong, the workholding is loose, or the part is being handled too aggressively between operations.
This guide walks through the most common causes of rough edges after grinding. It lists symptoms, likely causes, and practical fixes in a table. It also covers prevention tips that reduce rework and protect the final surface finish.
How to Inspect Rough Edges Before Moving On
Stop the part at the first sign of roughness. Do not move it to plating or painting. A rough edge can look small under normal light, but it becomes a defect after secondary operations.
Use a magnifying lens or a simple light box to check the ground area. Look for three things:
- Sharp burrs or lifted metal at the edge.
- Deep scratches or gouges from the wheel or tool.
- Discoloration or a burnt smell, which suggests heat damage.
If the edge is only slightly rough, the cause is often feed rate or tooling. If the edge is heavily damaged, the cause is usually workholding or part handling.
Common Symptoms, Causes, and Fixes
Use the table below to match the defect you see with the likely cause. The fixes are practical. They focus on what you can control on the floor.
| Symptom | Likely cause | What to do |
|---|---|---|
| Small burrs on the edge | Tool is dull or the feed rate is too high | Replace the tool or reduce feed. Check tool wear before each shift. |
| Deep scratches across the surface | Wheel is contaminated or the tool is dragging | Clean the wheel. Check for embedded metal or debris. Use a new tool if needed. |
| Heat discoloration or burnt smell | Too much pressure or too long a dwell time | Reduce pressure. Shorten the pass. Let the part cool between operations. |
| Uneven finish with high and low spots | Part is moving during grinding | Improve workholding. Add a fixture or clamp. Check for loose jaws or worn pads. |
| Rough edge only on one side | Tool angle is wrong or the part is tilted | Recheck the tool angle. Verify part orientation. Use a reference edge or datum. |
| Surface feels rough but looks smooth | Over-grinding or a fine grit was used | Stop grinding. Move to a finer grit or a different tool. Check the finish with a feeler or a hand pass. |
Feed Rate and Pressure: The Two Most Common Mistakes
Grinding is fast. That speed is what makes it useful for post casting operations. But speed is also what causes rough edges when the operator pushes too hard.
The feed rate is the speed of the tool across the part. The pressure is how hard the tool is pushed into the metal. If the feed is too high, the tool skips. If the pressure is too high, the tool digs in. Both create rough edges.
A practical check is to start at the lowest workable feed rate. Increase slowly until the tool cuts cleanly. If the surface is rough, go back down. Do not try to compensate with pressure. Pressure hides the real problem and makes it harder to see.
For many die cast parts, a light pass with a clean tool beats a heavy pass with a dull tool. The part may take longer, but the finish is better. The next operation, whether it is plating or painting, will look better because the surface is uniform.
Tooling and Wheel Condition
Tooling is the first place to look when the finish is rough. A dull tool does not cut. It rubs. Rubbing generates heat and lifts metal. The edge becomes rough and burried.
Check the tool before each shift. Look for wear, nicks, or a glazed surface. A glazed tool is not safe to use. It will not grip the metal properly. Replace it.
For wheel grinding, the wheel condition matters too. A wheel that is loaded with metal particles will drag across the part. It will not cut. It will scratch. Clean the wheel regularly. Use a cleaning stick or a dressing tool. If the wheel is worn or cracked, replace it.
For smaller edges or tight tolerances, a fine abrasive may be better than a coarse wheel. The finish will be smoother, but the time per part will increase. Choose the tool based on the final requirement, not the speed.
Workholding and Part Handling
A loose part is a rough part. If the part moves during grinding, the tool cuts in the wrong place. The edge becomes uneven. The finish is rough.
Check the workholding before each batch. Look for loose clamps, worn pads, or a fixture that has shifted. Add a second clamp if the part is large or thin. Use a fixture that supports the part near the edge being ground.
Handle the part with care between operations. A die cast part is brittle. A rough edge can be made worse by a drop, a bump, or a hand grip that scratches the surface. Use soft gloves or a fixture. Do not move the part by the ground edge.
If the part is going to plating, the edge must be clean. Residual metal particles, oil, or coolant can cause plating defects. Wipe the part after grinding. Check the edge before the next operation.
Prevention Tips for Consistent Results
Prevention is cheaper than rework. The following practices reduce rough edges and keep die casting finishing consistent.
- Standardize the setup. Use the same tool, feed rate, pressure, and workholding for each part. Document the setup.
- Check tool condition. Replace dull tools. Clean wheels. Dress tools as needed.
- Verify workholding. Tighten clamps. Check fixtures. Support the part near the edge.
- Run a test part. Grind one part and inspect it before starting the batch.
- Inspect after each pass. Do not wait until the end of the batch to check the finish.
- Control handling. Use soft gloves. Support the part. Do not drag the edge across a bench.
- Record the process. Note the tool used, the feed rate, and any changes. This helps trace problems later.
These steps do not add much time. They prevent the bigger problem: a batch of parts with rough edges that must be reworked or scrapped.
When to Escalate
Some rough edges are not caused by grinding. They may come from the casting itself. A porosity cavity, a hot tear, or a flash line can look like a rough edge after grinding.
If the defect is deep, do not grind it out. Stop and inspect the part. Check the casting for porosity, inclusions, or a flash. If the casting is bad, the grinding process is not the cause.
If the defect is on the surface but the casting is sound, the cause is likely the grinding process. Use the table above to match the symptom to the cause.
If the problem continues after fixing the grinding process, look at the part design. A thin edge or a sharp corner may be difficult to finish. Adjust the tool angle or use a different tool. If the design is the problem, talk to the engineer and the casting supplier.
Final Check Before the Next Operation
Before moving the part to plating, painting, or assembly, do a final check. Look at the edge under light. Feel the surface with a soft cloth. Check for burrs, scratches, or discoloration.
If the finish is rough, stop. Fix the cause. Do not pass the part along. A rough edge will show up in the next operation. It will cost more to fix later.
A clean edge, a smooth finish, and a consistent process are the signs of good die casting finishing. The work is done when the part is ready for the next step without extra handling.
Frequently asked questions
What is the fastest way to fix rough edges after die casting grinding?
Start by checking the tool condition and the feed rate. Replace a dull tool and reduce the feed. If the edge is still rough, check the workholding.
Can heat damage from grinding cause plating defects?
Yes. Heat discoloration and burnt metal can affect plating adhesion. Clean the part and remove the heat-affected area before plating. If the damage is deep, rework or scrap the part.
How often should I check the grinding wheel?
Check the wheel before each shift and during the batch. Clean it if it is loaded. Replace it if it is worn, cracked, or glazed.
Is it better to use a coarse or a fine tool for die cast edges?
Use a coarse tool for bulk removal and a fine tool for the final finish. The final tool should match the required surface finish. A fine tool takes longer but gives a smoother edge.
What should I do if the part moves during grinding?
Improve the workholding. Add a clamp or a fixture. Support the part near the edge being ground. Do not continue grinding a moving part.