Troubleshooting Common Coating Adhesion Problems

Coating adhesion failures on die cast parts stem from inadequate cleaning, moisture, and incorrect surface preparation. This guide lists common symptoms, likely causes, and practical fixes for adhesion issues, helping you prevent surface finish defects before they reach assembly.
- Most coating adhesion failures trace back to inadequate cleaning, moisture, or incorrect surface preparation.
- A structured inspection approach separates surface finish defects from true adhesion problems.
- Consistent cleaning and drying routines reduce rework and improve coating quality.
- Documenting coating parameters and part lot traceability makes problem solving faster and more repeatable.
- Prevention costs less than rework. Build adhesion checks into your receiving and production workflows.
Identifying the Problem Before You Fix It
Coating adhesion problems on die cast parts are often misdiagnosed. A coating that lifts at the part edge, blisters after heat cycling, or flakes off during handling may look like a coating issue, but the root cause is frequently a surface finish problem upstream. Before selecting a fix, confirm what you are actually seeing.
A useful first step is to classify the defect. Is the coating peeling from the entire face of the part, or only from a specific area? Does it lift only at a corner, or across the whole surface? Is the failure smooth and uniform, or does it cluster around weld lines, ejector marks, or gate residues? The pattern tells you a lot about whether the issue is mechanical, chemical, or related to part geometry.
When a buyer or engineer receives a rejected lot, the first question to ask is whether the coating ever bonded in the first place. If the coating was never properly prepared for the substrate, no amount of reapplication will fix the underlying problem. The surface finish of the die cast part, the cleanliness of the part, and the coating chemistry all interact. A rough surface may bond well, while a contaminated surface may reject even the best coating.
Common Symptoms and Their Likely Causes
The table below summarizes the most frequent coating adhesion problems on die cast parts. Each symptom points to a different set of likely causes. Matching the symptom to the cause helps you direct your troubleshooting effort.
| Symptom | Likely cause | What to do |
|---|---|---|
| Coating lifts across the entire part face | Inadequate cleaning, moisture on part, or incorrect coating chemistry for the alloy | Verify cleaning steps, confirm part is dry, and match coating to the alloy and surface condition |
| Coating blisters after heat or UV exposure | Trapped moisture, trapped solvent, or a coating applied too thick | Reduce coating thickness, improve drying time, and check for moisture in the coating or on the part |
| Coating flakes only at part corners or edges | Mechanical stress, poor surface preparation in high-stress areas, or inadequate edge rounding | Inspect part geometry, improve surface finish on edges, and verify coating coverage at stress points |
| Coating fails only on weld lines or ejector marks | Contaminants or oxide on localized areas, or a surface finish difference from the casting process | Clean affected areas with a compatible solvent or abrasive, and verify surface finish uniformity across the part |
| Coating bonds well in a test area but fails in production | Inconsistent cleaning, variable part surface finish, or operator error | Standardize cleaning, add a surface finish inspection step, and document operator procedures |
A key distinction is that not every coating failure is an adhesion failure. A coating may fail because the part was not clean, because the coating was the wrong type, or because the part was handled roughly. The same defect can have different causes depending on the part, the coating, and the process. Your job is to isolate which variable changed.
Cleaning and Surface Preparation
The most common cause of adhesion issues is inadequate cleaning. Die cast parts carry oil, coolant, and casting residue from the die, the melt, and the handling process. These residues sit on the part surface and prevent the coating from bonding to the metal. A part that looks clean to the eye may still carry a thin film of oil or a microscopic layer of oxide.
The cleaning step must be matched to the part and the coating. A light wipe with a lint-free cloth is not enough for many coatings. A solvent wash, a water-based cleaner, or an alkaline cleaner may be required. The choice depends on the alloy, the coating type, and the level of contamination. For example, a zinc die cast part with a light oil film may need a solvent wipe, while an aluminum part with a heavier residue may need a longer soak or a more aggressive cleaner.
Surface finish also matters. A rough surface gives the coating more mechanical grip. A very smooth surface may bond well chemically but can fail under mechanical stress. If the part surface finish is too smooth, the coating may need a primer or a surface treatment to improve adhesion. If the part surface finish is too rough, the coating may not flow into the texture and can create weak spots.
A practical check is to compare the part surface finish against the coating specification. The coating supplier will usually state the acceptable surface roughness range. If the part is outside that range, you may need to adjust the surface finish before coating. This can mean a light abrasive pass, a different die, or a different part design. The goal is to match the part surface to the coating requirements, not to force the coating onto a surface it cannot handle.
Moisture and Drying
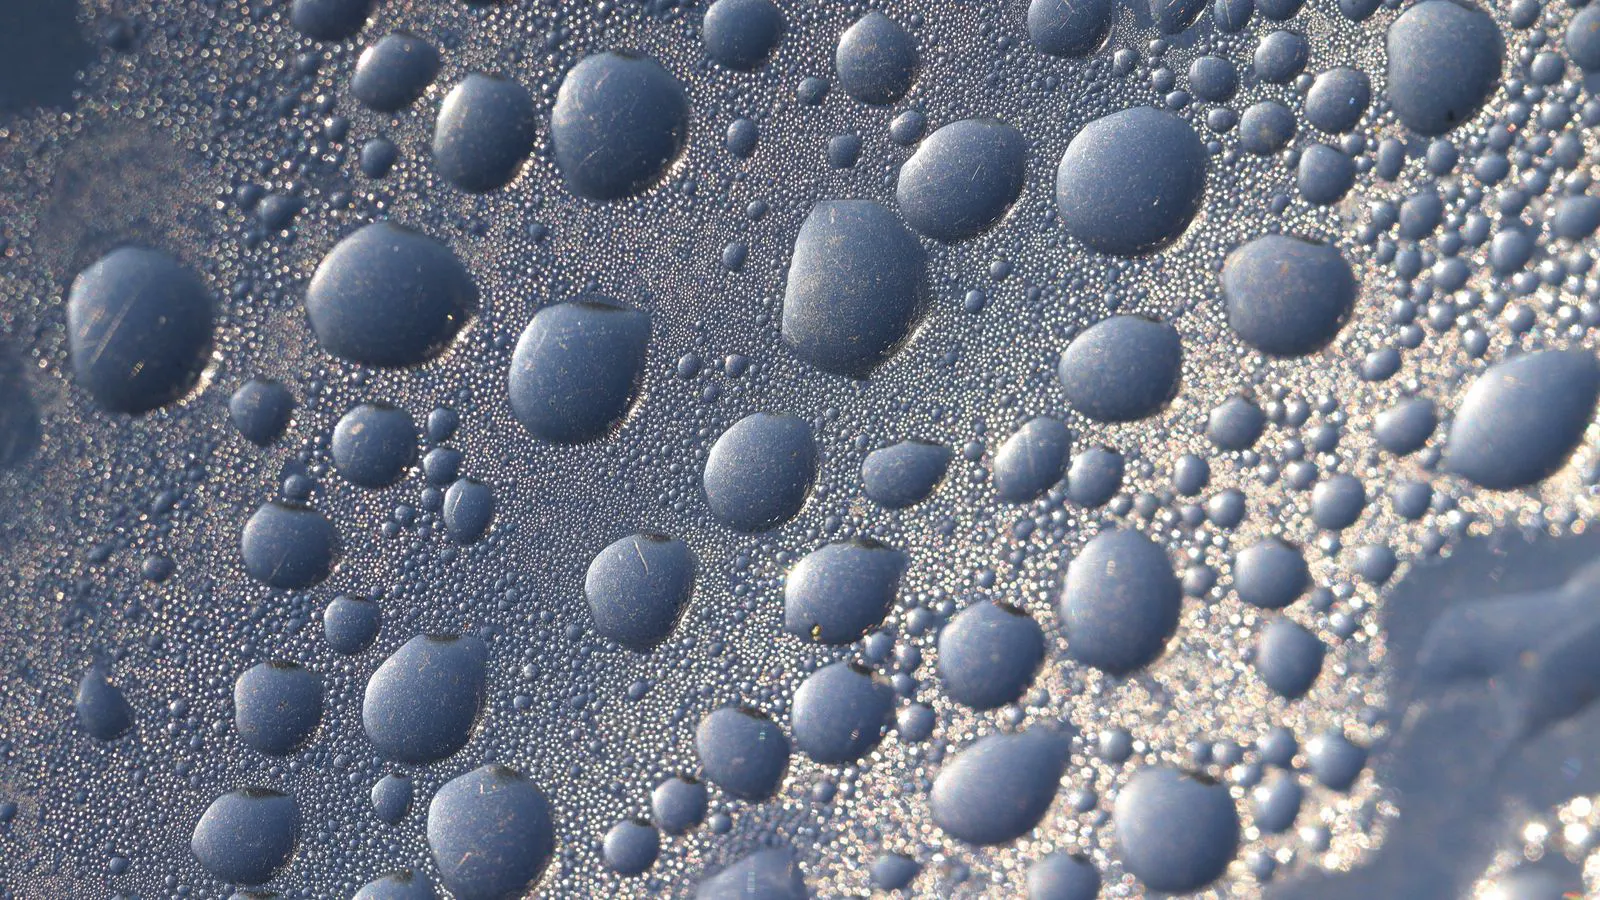
Moisture is a silent killer of coating adhesion. Even a small amount of water on the part surface can prevent the coating from bonding. This water can come from cleaning, from ambient humidity, or from the part itself if it was not dried properly after cleaning.
The drying step is often overlooked. Parts may be cleaned and then immediately coated, leaving residual moisture trapped between the metal and the coating. Over time, that moisture can migrate to the coating interface and cause blisters, peeling, or loss of adhesion. The drying method matters too. Air drying, oven drying, or infrared drying each have different effectiveness. Air drying is slow and can fail in humid environments. Oven drying is faster but must be at the right temperature to avoid damaging the part or the coating.
A simple test is to hold a part under a bright light and look for condensation or a dull film on the surface. If you see it, the part is not dry. Another test is to apply a small amount of coating to a test area and check for blisters after a short time. If blisters appear, the part was not dry enough. The fix is to extend drying time, increase drying temperature, or change the drying method.
Coating Chemistry and Application
Not all coatings bond to all die cast alloys. A coating that works on zinc may fail on aluminum, and a coating that works on a rough surface may fail on a smooth one. The coating chemistry must match the substrate. If the coating is not compatible with the part, no amount of cleaning or drying will fix the adhesion problem.
The application method also matters. Spraying, dipping, and brushing each have different effects on adhesion. Spraying can create a thin, even coat that bonds well if the surface is clean. Dipping can create a thicker coat that may trap solvent or air, leading to blisters. Brushing can leave uneven coverage and weak spots. The application method must be matched to the part size, shape, and surface finish.
Coating thickness is another variable. A coating that is too thin may not cover the surface well and can fail at stress points. A coating that is too thick can trap solvent and take longer to cure, increasing the risk of blisters or peeling. The coating supplier will provide a recommended thickness range. Staying within that range reduces the risk of adhesion problems.
A practical approach is to keep a small sample of the coating, the cleaning solution, and the part surface finish in your records. When a lot fails, you can compare the failed lot to the last good lot and see what changed. Did the cleaning solution change? Did the part surface finish change? Did the coating thickness change? Identifying the change is the fastest path to a fix.
Inspection and Documentation
You cannot fix what you cannot measure. Coating adhesion problems are easier to prevent when you have a clear inspection process and a record of what you did. Without documentation, you are guessing. With documentation, you can trace the defect back to its source.
A basic inspection process includes three steps. First, inspect the part surface finish before coating. Check for contaminants, moisture, and surface roughness. Second, inspect the coating after application. Check for coverage, thickness, and uniformity. Third, inspect the coating after cure. Check for adhesion, blisters, peeling, and other defects. Each step should be recorded.
A simple log can capture a lot of information. Record the part number, the lot number, the cleaning method, the drying time, the coating type, the coating thickness, and the inspector. If a lot fails, the log tells you what to check. If a lot passes, the log tells you what to repeat. This is how you turn a one-off fix into a repeatable process.
For buyers, this documentation also supports supplier management. If a coating supplier delivers a lot with adhesion problems, the log gives you the data to discuss the issue. If a die casting supplier delivers a part with a poor surface finish, the log gives you the data to request a change. Clear records make it easier to hold the right person accountable and to prevent the problem from recurring.
Prevention and Ongoing Improvement
The best way to fix coating adhesion problems is to prevent them. Prevention costs less than rework. It takes time to set up, but it saves time and money over the life of the part.
A few prevention steps have a high impact. Standardize the cleaning process. Use the same cleaning solution, the same method, and the same drying time for every part. Add a surface finish inspection step before coating. Check the part for contaminants, moisture, and roughness. Keep a record of coating parameters. Track the coating type, thickness, and cure time. Review failed lots regularly. Look for patterns and make adjustments.
These steps are not complicated, but they require discipline. A single operator who skips a cleaning step can ruin a whole lot. A single change in coating thickness can cause a lot of defects. The process must be consistent. That means training, clear instructions, and regular audits.
If you are dealing with a chronic adhesion problem, consider a root cause analysis. Bring together the die casting supplier, the coating supplier, and your own team. Review the part, the coating, the process, and the inspection data. Identify the root cause and implement a fix. Then verify the fix with a test run. If the fix works, document it and train the team. If it does not, go back to the data and try again.
Coating adhesion problems are not mysterious. They are usually caused by a small number of variables. Cleaning, moisture, surface finish, and coating chemistry. When you understand those variables and control them, the problems disappear. The goal is not to find the perfect coating. The goal is to match the coating to the part and the process. When you do that, the coating sticks. And when the coating sticks, the part works.
Frequently asked questions
What is the first thing to check when a coating fails to adhere to a die cast part?
Check the part surface for contaminants, moisture, and surface roughness. Most adhesion failures are caused by a dirty or wet surface, not by the coating itself.
Can a rough surface finish cause coating adhesion problems?
A very rough surface can trap air or solvent, which can lead to blisters or weak bonding. A very smooth surface may not give the coating enough mechanical grip. The surface finish should match the coating specification.
How long should a die cast part be dried after cleaning before coating?
There is no single answer. The drying time depends on the cleaning method, the environment, and the coating. A practical test is to apply a small amount of coating to a test area and check for blisters after a short time. If blisters appear, the part is not dry enough.
Can I use the same coating on zinc and aluminum die cast parts?
Not always. Coating chemistry varies by alloy and surface condition. A coating that works on one alloy may fail on another. Check the coating specification and the alloy before applying.
How do I document coating adhesion problems for a supplier meeting?
Record the part number, lot number, cleaning method, drying time, coating type, coating thickness, and the specific defect. A clear log makes it easier to trace the problem and to request a fix.