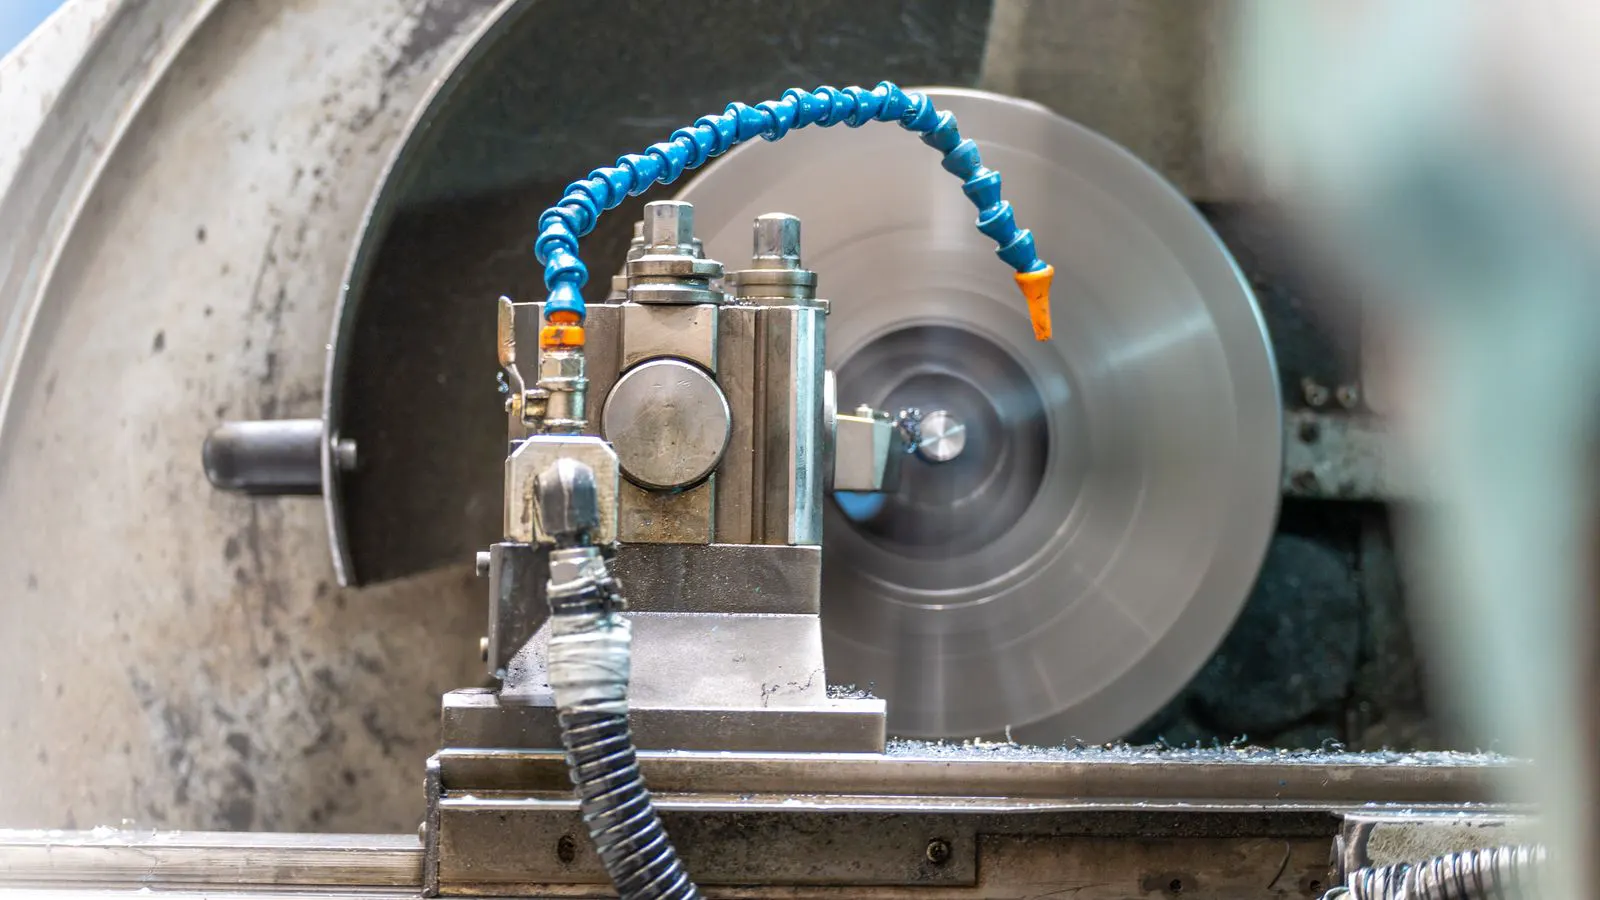
Die Casting Part Assembly Quality Checklist

This guide provides a structured part assembly checklist for die cast components. It outlines critical checks for dimensions, surface condition, fasteners, and final product integrity to help buyers reduce rework and reject rates.
- Use a structured checklist to verify dimensions, surface finish, and fastener torque before final inspection.
- Document red flags such as flash, porosity, or misalignment to prevent costly rework cycles.
- Align part assembly checks with customer drawings and surface finish standards to ensure acceptance.
- Maintain clear traceability records linking raw castings to final assembled units.
Why part assembly checks matter in die casting
Die cast parts often arrive at the assembly station with residual flash, machining marks, or dimensional drift. These defects do not always appear on the raw casting itself. They emerge when multiple components come together. A zinc bracket may fit a housing perfectly in isolation. Once fastened, thermal expansion or uneven clamping force can shift the alignment. The final product may fail even if every individual part passed incoming inspection.
Part assembly is the final gate before the product leaves the facility. Buyers and engineers need a repeatable method to catch errors before shipment. This section provides a numbered checklist grouped by theme. Each item includes a brief explanation and a red flag to watch for. Use it as a baseline for your own quality plan, then adjust it to match your specific materials and customer requirements.
Dimensional and geometric checks
Measurements must match the customer drawing, not just internal tolerances. Tolerances on raw castings are often looser than the final assembled requirement. Machining and assembly can shift the part within those limits. The checklist below covers the most common failure points.
- Verify all critical dimensions against the approved drawing. Use calibrated gauges or CMMs. Record the actual values. Red flag: A dimension sits near the tolerance limit but the drawing calls for a tighter fit after assembly.
- Check the flatness and squareness of mating surfaces. Use a dial indicator or a granite plate. Red flag: One corner of a housing lifts off the table when the other three touch.
- Measure bore diameters and hole positions. Check for out-of-round conditions. Red flag: A hole appears round with calipers but the plug gauge does not fully engage.
- Confirm step heights and stack-up tolerances. Measure from the base reference to the top surface. Red flag: The assembled height exceeds the envelope even though individual parts are within spec.
- Check thread engagement depth. Use a thread gauge or a calibrated plug. Red flag: A screw runs fully but the head sits too high, indicating insufficient thread depth.
- Verify alignment of multiple holes. Use a pin gauge or a custom fixture. Red flag: Two holes are individually round but offset from each other when viewed from the top.
- Confirm the orientation of keyed or shaped features. Use a go/no-go gauge. Red flag: The key fits but the part rotates slightly before it seats.
These checks protect the functional relationship between parts. A small deviation in one feature can create a large deviation in the next.
Surface finish and cosmetic checks
Surface finish affects both appearance and performance. A rough surface can trap moisture and accelerate corrosion. It can also interfere with gasket sealing or paint adhesion. The checks below focus on conditions that appear after assembly.
- Inspect visible surfaces for flash or burrs. Look at the part under raking light. Red flag: A thin ridge of material catches the light at the part edge.
- Check for porosity or sand inclusions on exposed faces. Use a magnifying lens. Red flag: A cluster of small pinholes appears on a flat surface.
- Verify the color and uniformity of the finish. Compare against an approved sample. Red flag: A new batch of parts looks noticeably darker or lighter than the previous lot.
- Look for machining marks or tooling scratches. Check the direction of the marks. Red flag: Visible tool marks run across a surface that should be polished.
- Confirm that protective films or coatings are intact. Check edges and corners. Red flag: A scratch in the protective film exposes the base metal to handling.
Cosmetic defects are often the first thing a customer notices. They also signal process instability. If one batch has flash, the next batch likely will too.
Fastener and mechanical joint checks
Fasteners are the most common cause of assembly failure. A loose screw can vibrate loose over time. A stripped thread can fail immediately. The checks below focus on torque, thread integrity, and joint stability.
- Verify the correct fastener type and grade. Check the part number or marking. Red flag: A fastener is slightly smaller than the previous lot, indicating a substitution.
- Measure torque values with a calibrated wrench. Record the reading. Red flag: A fastener reaches the specified torque with less force than expected, suggesting a stripped thread.
- Check for cross-threading. Try to rotate the fastener by hand after tightening. Red flag: The fastener resists rotation but the threads feel rough.
- Confirm the fastener is fully seated. Check the gap between the head and the surface. Red flag: A visible gap indicates the fastener is not flush.
- Inspect the joint for movement. Try to rock the assembly. Red flag: A slight wobble appears when pressure is applied to the joint.
- Verify the use of thread-locking compound where required. Check for residue. Red flag: No visible compound on a fastener that requires it.
Mechanical joints transfer load between parts. A failure here can lead to structural loss. Torque values are a starting point. The joint must remain stable under the expected loads.
Material and integrity checks
Die cast parts can have internal defects that do not show on the surface. Porosity, hot tears, or inclusions can weaken the material. These defects are more likely to appear under stress. The checks below help identify parts that may fail prematurely.
- Check for heavy porosity in thick sections. Use a visual inspection or a dye penetrant test. Red flag: A dark speckled pattern appears on a flat face.
- Look for hot tears or cracks. Inspect the part edges and corners. Red flag: A dark line appears on a corner that does not match the casting flow pattern.
- Verify the material grade. Check the heat treat or test certificate if required. Red flag: The material code on the part does not match the drawing.
- Check for sand inclusions or embedded debris. Look at the casting surface. Red flag: A rough patch appears on a surface that should be smooth.
- Inspect for dimensional shrinkage. Compare the part to a standard sample. Red flag: The part is slightly smaller than the previous batch, indicating a change in cooling conditions.
These checks are time-consuming. They are also the most reliable way to catch internal defects. A part that looks fine on the surface can fail in service.
Documentation and traceability
A part assembly is only as good as the records that follow it. Without documentation, you cannot trace a defect back to its source. The checks below ensure that every part can be linked to its origin.
- Record the part number and serial number. Use a barcode or manual log. Red flag: A part has no identifier or the identifier is illegible.
- Link the casting batch to the assembly batch. Use the heat treat or casting number. Red flag: The casting number is missing from the assembly record.
- Store inspection reports with the part. Use a digital or physical file. Red flag: The inspection report is filed separately from the part.
- Verify the date of manufacturing and inspection. Check the timestamps. Red flag: The inspection date is after the shipping date.
- Confirm that all approvals are signed. Check for engineer or quality sign-off. Red flag: A report is unsigned or has a missing approval.
Traceability is not just a regulatory requirement. It is a practical tool for problem solving. When a customer reports a defect, you need to know which batch of parts was shipped.
Final acceptance and release checks
The final checks confirm that the assembly meets the customer’s acceptance criteria. These checks are the last gate before release. They are also the most expensive to fail.
- Perform a functional test. Run the part through its intended operation. Red flag: The mechanism sticks or binds under load.
- Check for any remaining debris or tools. Inspect the part and its surroundings. Red flag: A small piece of wire or a tool handle remains inside the housing.
- Verify the packaging and labeling. Check the box and the label. Red flag: The label shows the wrong part number or a damaged package.
- Confirm that all required certificates are attached. Check the shipping documents. Red flag: The material test report is missing from the shipment.
- Review the checklist for any open items. Mark each item as complete. Red flag: A checklist item is marked complete but the measurement is missing.
A final acceptance check is a sanity check. It catches the errors that slip through the earlier stages. It also provides a clear record that the part met the required standard.
Red flag summary table
The table below summarizes the most common red flags in part assembly. Use it as a quick reference for your inspection team.
| Category | Red Flag | Potential Cause |
|---|---|---|
| Dimensional | Part sits near tolerance limit | Raw casting variation or machining drift |
| Surface | Flash or burrs on edges | Die wear or improper parting |
| Fastener | Screw does not seat flush | Cross-threading or incorrect fastener |
| Material | Porosity on flat face | Gas entrapment during pouring |
| Documentation | Missing serial number | Incomplete labeling process |
A single red flag is a warning. Multiple red flags indicate a process problem. Address the root cause before releasing the next batch.
How to adapt the checklist to your product
This checklist is a starting point. Adjust it based on your specific parts. A small zinc bracket and a large aluminum housing have different risk profiles. A part that carries a load requires more structural checks. A part that is purely cosmetic requires more finish checks.
Start with the critical-to-quality features. These are the dimensions and surfaces that directly affect function or appearance. Add checks for non-critical features as needed. Keep the checklist short enough that your team will use it. A long checklist gets skipped. A short, focused checklist gets completed.
Review the checklist after every customer complaint. Add any new failure mode you discover. Remove any check that no longer applies. The goal is a tool that stays useful over time.
Common mistakes to avoid
Buyers and engineers often make the same mistakes during part assembly. These mistakes are usually avoidable.
- Relying on incoming inspection only. A part can pass incoming inspection and still fail assembly. Check the final fit.
- Ignoring cosmetic defects. A scratch may not affect function, but it can cause a customer return.
- Skipping torque verification. A fastener that feels tight may not be tight enough. Measure it.
- Not documenting the process. If you cannot prove the check was done, it was not done.
- Assuming consistency. A good batch does not guarantee the next batch. Re-check every lot.
These mistakes are not signs of incompetence. They are signs of a process that needs tightening. Fix the process, not just the part.
When to escalate a defect
Not every defect requires a full rework. Some are cosmetic. Some are functional. Some are safety-related. Escalate based on impact.
- Escalate immediately if a part fails a safety check.
- Escalate if a part does not meet a critical dimension.
- Escalate if a batch shows a pattern of defects.
- Do not escalate if a part has a minor cosmetic scratch on an internal surface.
- Do not escalate if a part passes all functional tests.
Escalation is a decision, not a reflex. Use the impact on the customer and the cost of rework to guide your choice.
Keeping the checklist current
A checklist is a living document. Update it when your process changes. Add new parts. Remove obsolete checks. Review it with your team every quarter.
Assign an owner. Someone is responsible for keeping the checklist accurate. They review it after every audit or complaint. They make sure the team understands the changes.
A current checklist is a reliable tool. An outdated one is a liability. Keep it simple, specific, and up to date.
Frequently asked questions
How often should I run the part assembly checklist?
Run it for every production batch. You can reduce the frequency for low-risk parts, but never skip the final acceptance checks.
What is the difference between incoming inspection and part assembly checks?
Incoming inspection verifies the raw parts. Part assembly checks verify the final fit, function, and appearance of the combined product.
Do I need a CMM for all dimensional checks?
No. Use the right tool for the tolerance. Calipers, micrometers, and gauges are often sufficient for many die cast parts.
How do I handle a part that fails one check but passes the others?
Do not release the part. Determine the cause of the failure. If it is a one-off error, rework it. If it is a process issue, stop production.
Can I use this checklist for both zinc and aluminum die castings?
Yes. The basic checks apply to both. Adjust the specific tolerances and finish requirements to match the material.