How to Extend Die Life Through Regular Maintenance
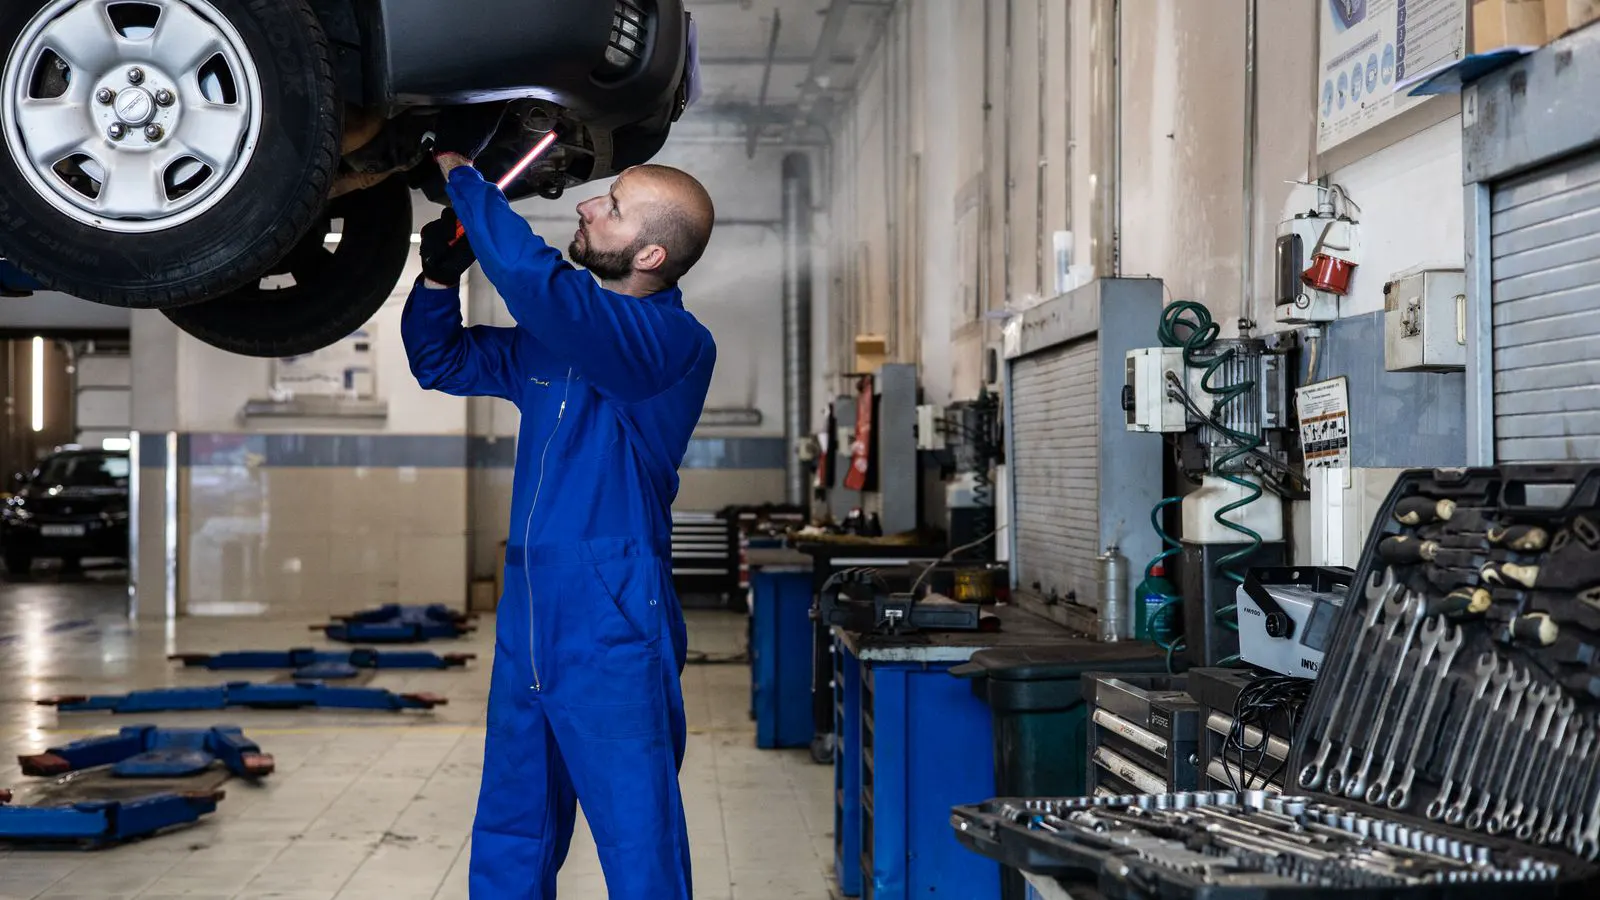
Extend die life by following a structured maintenance routine that includes cleaning, lubrication, inspection, and scheduled repairs. A consistent die maintenance program catches wear early, prevents sudden tooling failure, and supports stable casting quality across high-volume production runs.
- A scheduled die maintenance routine reduces unplanned downtime and protects casting quality
- Cleaning, lubrication, and inspection must be performed in a consistent order to avoid contaminating the die
- Track die cycles and maintenance records to identify wear patterns before failure
- Assign clear responsibility for each maintenance step to keep the process reliable
- Use a maintenance schedule tailored to the part geometry, alloy, and production rate
A die is not just a tool that holds a cavity. It is a precision surface that contacts molten metal thousands of times. Every cycle creates heat, pressure, and mechanical stress. Without structured care, that stress accumulates until a small defect becomes a production stoppage.
This guide explains how to build a die maintenance program that supports long tooling life. It assumes the die is in production and the team can access the cavity, core, and cooling passages.
What to Prepare Before Starting Maintenance
Before touching the die, gather the materials and information needed for the job.
- Die cleaning tools: soft brushes, lint-free cloths, approved die-safe cleaning agents, and a vacuum or compressed air source
- Lubricants: die-safe release agent and lubricants approved for the specific alloy and die steel type
- Inspection tools: magnifying lens, feeler gauges, dimensional check fixtures, and a die cycle counter log
- Safety items: PPE, lockout tagout documentation, and hot die cool-down confirmation
- Maintenance record sheet: cycle count, last service date, wear observations, and corrective actions
Confirm the die has reached a safe temperature before opening the mold. A hot die can damage tooling, burn personnel, or leave thermal marks on the cavity. Verify the cooling system has cycled the die to an acceptable temperature.
Check the production log for the number of cycles since the last service. This number determines whether the maintenance is a routine check or a deeper inspection. A die producing thin-walled aluminum parts will show wear in a different pattern than a die for thick-walled zinc parts.
Step-by-Step Die Maintenance Procedure
Follow this sequence each time you service the die. The order matters. Cleaning removes residue before lubrication. Lubrication protects the surface before inspection. Inspection confirms the die is ready for the next production run.
-
Remove all visible casting residue from the cavity and core faces. Use a soft brush and approved cleaning agent.
Reason: Hardened metal residue creates uneven contact and can pit the die surface. -
Inspect the cavity for scoring, pitting, or uneven wear. Use a magnifying lens under good lighting.
Reason: Small defects grow into larger failures if they are not caught early. -
Clear the cooling passages and vent holes. Use a low-pressure air source or a suitable probe.
Reason: Blocked passages cause local overheating and reduce die strength. -
Apply a thin, even layer of die-safe lubricant to the cavity and core surfaces.
Reason: Proper lubrication reduces friction and helps castings release cleanly. -
Check the parting line and gate areas for metal buildup.
Reason: These areas see high stress and are common failure points. -
Run a short test cycle if the die is still in the machine. Inspect the first casting for surface defects.
Reason: A test cycle confirms the maintenance was effective before full production resumes. -
Record the cycle count, wear observations, and any corrective actions in the maintenance log.
Reason: A written record helps the team spot trends and plan future services.
How Often Should You Perform Die Maintenance?
There is no single interval that fits every die. The maintenance schedule depends on the alloy, die steel, part geometry, and production volume.
A die producing high-volume thin-walled aluminum parts may need more frequent cavity cleaning than a die producing low-volume thick-walled parts. A die with complex undercuts or thin ribs may require closer inspection of the parting line.
Use the production cycle count as the primary trigger. For example:
| Maintenance Task | Typical Trigger | Purpose |
|---|---|---|
| Surface cleaning | Every shift or every 5,000 cycles | Remove residue and prevent pitting |
| Lubrication check | Every 10,000 cycles | Confirm release performance |
| Cooling passage check | Every 20,000 cycles | Prevent overheating and hot spots |
| Full cavity inspection | Every 50,000 cycles or as needed | Detect scoring and wear |
| Parting line review | Every 100,000 cycles | Identify buildup at high-stress areas |
Adjust these intervals based on the actual condition of the die. If the die shows wear before the planned interval, service it sooner. If it remains clean and stable, you may extend the interval. The schedule should reflect observed performance, not a fixed rule.
Common Mistakes That Shorten Die Life
Most die failures start with small, avoidable errors. Recognizing these mistakes helps the team protect the tooling.
- Skipping cleaning after a difficult casting. Residue left on the die surface hardens and damages the next casting.
- Using the wrong lubricant. Some release agents leave residues that contaminate the cavity or react with the die steel.
- Ignoring cooling passage blockage. A partially blocked passage creates a hot spot that weakens the die locally.
- Over-tightening the die during reassembly. This can distort the parting line and increase stress on the cavity.
- Not recording cycle counts. Without a log, the team cannot track wear patterns or plan services.
- Delaying repairs after a visible defect. A small pit can become a large void if the die continues to run.
A practical check is to compare the current casting surface to a known-good reference. If the surface shows new lines, pits, or texture changes, the die needs attention before the problem spreads.
How to Verify Maintenance Was Done Correctly
The final step is verification. A maintenance session is only complete when the die is confirmed ready for production.
- Confirm the cavity and core faces are clean and free of residue.
- Confirm the lubricant film is even and not excessive.
- Confirm the cooling passages are clear and the die reaches the expected operating temperature.
- Run a test cycle and inspect the first casting for release lines, surface pits, or dimensional drift.
- Update the maintenance log with the cycle count and any observations.
If the first casting shows a defect that was not present before maintenance, stop and re-inspect. The issue may be in the lubricant, the cleaning process, or a new defect in the die. Do not run the die to full volume until the cause is identified.
Building a Reliable Maintenance Schedule
A maintenance schedule works when it is simple, visible, and tied to actual die performance.
Create a one-page schedule for each die. Include the cycle triggers, the tasks required, and the person responsible. Post the schedule near the machine. Update it after each service.
Track two numbers over time: cycles since last service and the condition rating after service. If the condition rating drops, reduce the interval. If the die remains stable, extend the interval slightly. This keeps the program practical without over-engineering it.
Assign a clear owner for each die. The owner is responsible for confirming the schedule is followed and for flagging issues that need engineering input. This prevents maintenance from becoming an afterthought during production pressure.
Connecting Maintenance to Total Tooling Cost
Die life directly affects total tooling cost. A die that lasts longer reduces the need for rework, reconditioning, and replacement. A die that fails suddenly creates downtime, scrap, and rush repair costs.
A structured die maintenance routine reduces both risks. It extends the useful life of the die and keeps surface quality stable. It also gives the engineering team data to decide when a recondition is worth it versus when a new die is better.
When the maintenance log shows a consistent wear pattern, the team can plan a recondition at the right time. When the log shows sudden damage, the team can investigate the cause before the next production run. This data turns maintenance from a cost center into a planning tool.
Final Checklist Before Restarting Production
Before returning the die to full production, complete this final check.
- Cavity and core are clean and dry.
- Lubricant is applied evenly and within the approved type.
- Cooling system is operating and the die is at the correct temperature.
- Test casting meets the surface and dimensional requirements.
- Maintenance log is updated with the cycle count and observations.
- Any identified defect has a corrective action or a clear decision.
If any item fails, do not restart. Resolve the issue first. A few minutes of additional inspection prevents hours of scrap and downtime later.
A die is an investment that responds to consistent care. The team that maintains it carefully gets more cycles, better surface quality, and fewer unexpected failures. The routine is not complicated. It is disciplined.
Frequently asked questions
How often should I clean a die casting mold?
Clean the die at least every shift or at the first sign of residue buildup. For high-volume production, use a shorter interval based on the cycle count and the alloy.
What is the best die lubricant?
Use a die-safe lubricant approved for the specific alloy and die steel. The lubricant must reduce friction without leaving a residue that contaminates the cavity.
Can I use compressed air to clean the cooling passages?
Yes, use a low-pressure air source and a suitable probe. Avoid high pressure that can force residue deeper into the passages or damage the die surface.
How do I know when a die needs reconditioning?
Look for consistent wear patterns, scoring, or pitting that cannot be removed by cleaning and polishing. A maintenance log with declining condition ratings is a strong indicator.
Is a maintenance schedule necessary for small production runs?
Yes. Even low-volume dies need periodic cleaning, lubrication, and inspection. The intervals can be longer, but the same tasks apply.