Troubleshooting: Porosity in Thin Aluminum Die Castings
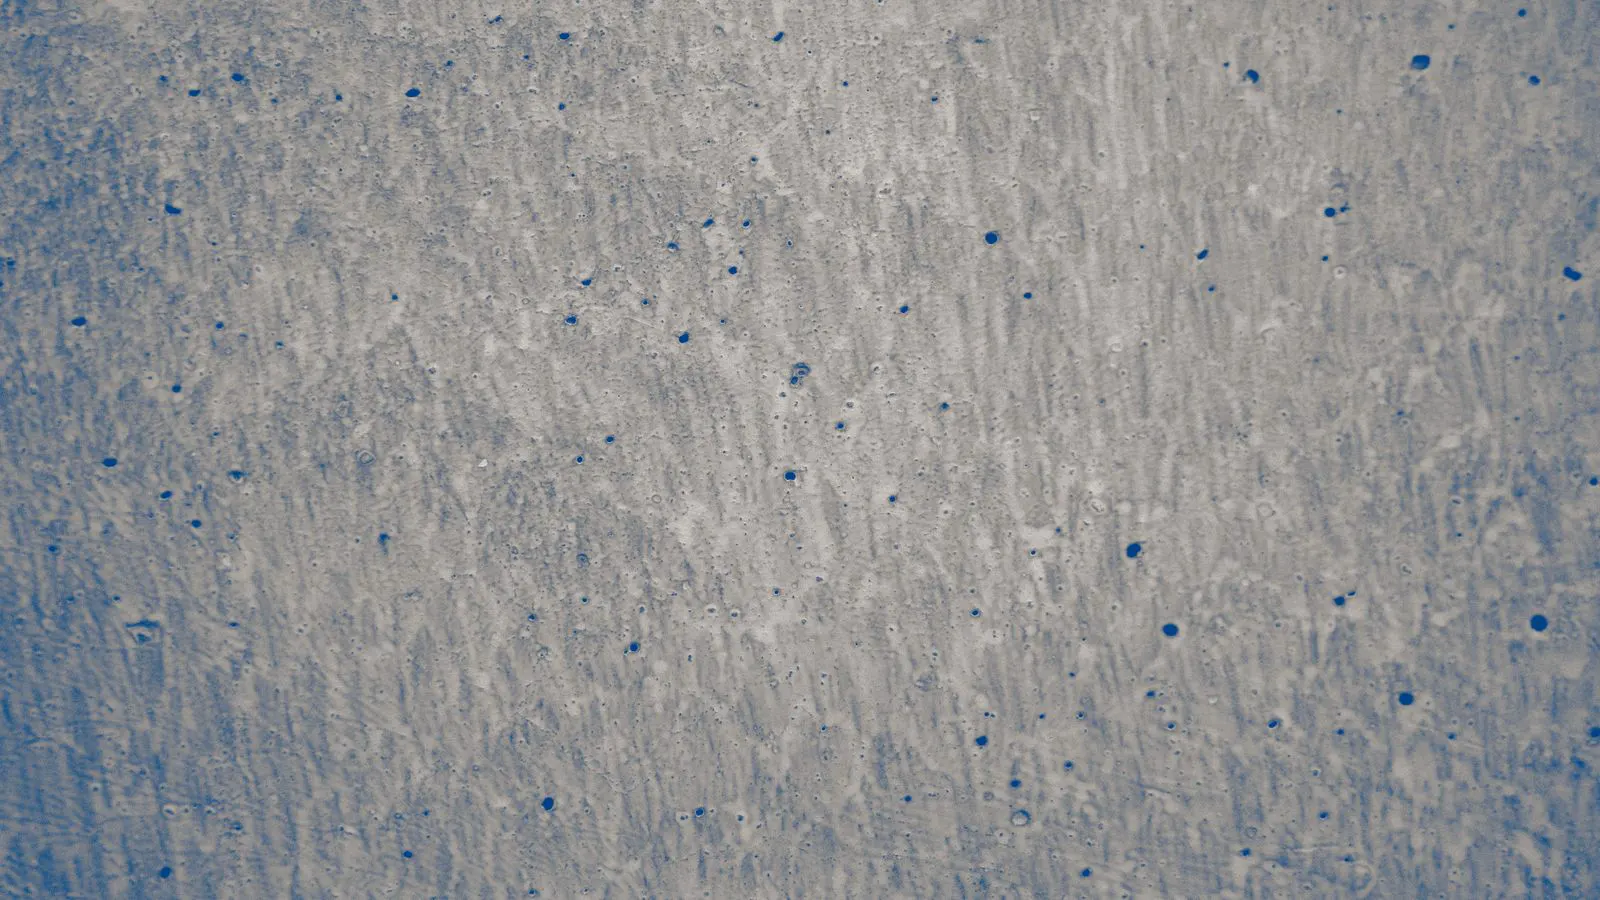
Aluminum die cast porosity in thin wall parts usually comes from trapped gas, poor feeding, or unstable melt. Fix it by controlling venting, feeding, temperature, and die surface quality. Use targeted checks to prevent gas and shrinkage porosity.
- Thin wall aluminum parts trap gas quickly, so venting and feeding must be sized for the part, not just the die.
- Shrinkage porosity often appears near thick sections and feeders, while gas porosity appears more randomly.
- Melt temperature, die temperature, and mold release timing all affect porosity in thin walls.
- Use porosity testing and visual inspection together to catch defects before they reach the customer.
- Prevention beats rework by tightening melt handling, die maintenance, and process controls early.
Why Thin Wall Aluminum Parts Are Prone to Porosity
Thin wall aluminum die castings are a common source of porosity problems. The walls cool fast. The metal solidifies before the molten feed can fully compensate for shrinkage. Gas from the melt or from the die cavity can also get trapped before the part is fully formed.
This is why aluminum die cast porosity is more visible in thin wall casting than in thick sections. The same defect in a thick part may be small and hidden. In a thin part, it can break the surface, create leakage paths, or reduce mechanical strength.
The good news is that most porosity problems are correctable. They are usually not mysterious. They come from a small set of process variables: gas content, venting, feeding, temperature, and die condition.
What Symptoms Tell You About the Cause
Buyers and engineers often see porosity after parts arrive, but the symptom pattern is the first clue to the cause.
| Symptom | Likely cause | What to do |
|---|---|---|
| Small round holes near the part surface | Trapped gas from the melt or die | Check melt temperature, degassing, and venting |
| Porosity near thick sections or feeders | Shrinkage porosity from poor feeding | Improve feed size, feed timing, and cavity filling sequence |
| Porosity in thin walls only | Insufficient feed or gas trapped before solidification | Review venting layout and die temperature control |
| Porosity after a long stop | Melt oxidation or die contamination | Purge melt, clean die, and recheck mold release |
| Porosity after tooling wear | Increased cavity volume and slower filling | Inspect die, repair hot spots, and adjust process |
A useful rule is this. Gas porosity tends to look like tiny bubbles under or near the surface. Shrinkage porosity tends to cluster where the part is thicker. If you see a mix, the process is probably unstable, and several variables need review at once.
How Gas Porosity Forms in Thin Walls
Gas porosity starts when air or other gases get into the melt or stay trapped in the die cavity. In thin wall casting, the part fills quickly, but the gas has little time to escape.
Common gas sources include:
- Melt that has been overheated or held too long, which increases gas pickup.
- Poor degassing or skimming, leaving hydrogen and other gases in the melt.
- Cavity surfaces that hold trapped air, especially after die wear or incomplete release.
- Inadequate venting in the thin wall region, where gas must escape before the metal solidifies.
The result is a part with small, often shallow, gas pockets. In some cases, the gas is visible only after machining or cleaning. That makes early detection harder.
One practical check is to look at the first pieces after a change. If porosity appears only after a long stop, a mold change, or a new melt charge, gas contamination is a strong suspect.
How Shrinkage Porosity Forms in Thin Walls
Shrinkage porosity is different. It is not mainly about gas. It is about the metal losing volume as it solidifies and the feed not being able to keep up.
Thin wall castings are especially sensitive because the solidification front moves fast. If the wall is too thin, the metal can solidify before the feeder can deliver enough liquid metal to fill the void. The void then remains in the part.
Shrinkage porosity often shows up in:
- Areas where a thin wall meets a thick boss or rib.
- Near feeders, where the metal cools unevenly.
- In parts with long, narrow passages that drain slowly.
- In castings where the feed is too small or too far away.
The fix is usually not to push more pressure. It is to improve the feeding path. A better feeder, a smaller cavity volume, or a better filling sequence can reduce shrinkage porosity without changing the part design.
What to Check First on the Melt Side
Before changing the die or the machine, check the melt. Melt condition is one of the easiest and fastest places to find porosity causes.
Start with melt temperature. Too low, and the melt does not flow well, so gas and shrinkage problems get worse. Too high, and the melt picks up more gas and can damage the die surface. For thin wall aluminum parts, the melt needs to be hot enough to fill the cavity, but not so hot that it degrades the melt.
Next, check the melt handling. Is the melt being skimmed properly? Is the degasser working? Is the melt being held too long? Is the ladle or pump clean? These are small details, but they add up.
A good practice is to record melt temperature at the start of each run. If porosity increases as the run continues, the melt may be degrading. If porosity appears only after a stop, the melt or the die surface may be contaminated.
What to Check on the Die and Venting Side
The die cavity is where gas and shrinkage problems become visible. Thin wall castings need venting that can keep up with the filling speed.
Venting is not just about size. It is about location. Vents near the thin wall region help gas escape before the metal solidifies. Vents that are too small, too far away, or blocked with oxide will not work.
Check the vent paths for:
- Oxide buildup.
- Debris from the part or release agent.
- Wear that changes the vent depth.
- Corrosion or roughness that traps gas.
Die temperature matters too. If the die is too hot, the metal stays liquid longer, which can increase shrinkage. If it is too cold, the metal solidifies too quickly and gas cannot escape. Thin wall parts are very sensitive to this balance.
How to Prevent Porosity in Thin Wall Aluminum Castings
Prevention is easier than correction. The goal is to keep gas out, keep the feed working, and keep the die clean.
- Control melt temperature and hold time. Keep the melt in the right range and avoid unnecessary holding.
- Use proper degassing and skimming. This removes gas and oxide before the melt enters the die.
- Design vents for the thin wall area. Vents must be sized and placed so gas can escape during fast filling.
- Size feeders for shrinkage. The feeder should be able to deliver liquid metal to the thin wall until solidification is complete.
- Keep the die clean and dry. Oxide, moisture, and release residue all trap gas and increase porosity.
- Monitor early pieces after changes. A small sample of the first few shots is often the best indicator of process stability.
These steps do not require a major retooling. They require discipline. The same process that works for a thick part will not work for a thin wall part.
When to Bring in a Testing Lab
Sometimes the problem is not obvious from the shop floor. Visual inspection can miss small porosity, and porosity under the surface is not always visible until the part is machined or tested.
A porosity testing lab can help when:
- Defects appear only after machining or cleaning.
- The cause is unclear and multiple changes have been tried.
- The customer requires proof that the defect rate is below a threshold.
- The part has thin walls and the defect is critical for function.
Testing methods vary, but the goal is the same. Find the defect, locate it, and understand whether it is gas or shrinkage. Once you know the type, the fix becomes much easier.
A practical approach is to combine visual inspection with a test on a sample set. If the defect rate is low but the part is critical, testing gives confidence that the process is stable.
How to Use the Data to Stop Recurrence
Porosity is not a one-time problem. It tends to come back when the process drifts. The best way to stop recurrence is to track the variables that matter.
Keep a simple log of:
- Melt temperature at the start of each run.
- Die temperature.
- Mold release timing.
- Melt hold time.
- Porosity rate on the first few pieces.
- Any changes to vents, feeders, or die condition.
When porosity appears, the log helps you see what changed. If the melt was hotter, if the run was longer, or if the die was recently cleaned, the cause is often obvious.
This is not a complicated system. It is a habit. The habit pays off when the problem is caught early, before the defect becomes a customer complaint.
Quick Fixes for Common Porosity Problems
If you see porosity in thin wall aluminum parts, do not change everything at once. Change one variable, test it, and see what happens.
- If porosity is near the surface, check gas content and venting.
- If porosity is near thick sections, check feeding and solidification sequence.
- If porosity appears after a stop, clean the die and purge the melt.
- If porosity increases over a long run, check melt degradation and die temperature.
- If porosity appears only in certain cavities, check venting and die condition in that cavity.
This step-by-step approach avoids the mistake of changing the process and not knowing what fixed the problem.
Final Check Before Shipping
Before parts go to the customer, run a final check. Look at the first and last pieces of the run. Compare them to the accepted sample. If the surface looks different, even slightly, stop and review the process.
Thin wall aluminum parts are unforgiving. A small change in melt, temperature, or die condition can show up as porosity. The goal is not to eliminate every variable. The goal is to keep the process stable and to catch changes before they become defects.
Frequently asked questions
What is the main difference between gas porosity and shrinkage porosity in thin wall aluminum castings?
Gas porosity comes from trapped gas and often appears as small bubbles near the surface. Shrinkage porosity comes from the metal shrinking as it solidifies and often appears near thick sections or feeders.
How do thin wall castings create more porosity than thick parts?
Thin walls solidify quickly, so gas has less time to escape. They also have less metal to feed shrinkage, so voids are more likely to remain.
What is the first thing to check when thin wall aluminum parts show porosity?
Check melt temperature and melt condition. If the melt is too hot, held too long, or poorly skimmed, gas content is often the cause.
Can better venting fix shrinkage porosity?
Venting helps gas escape, but shrinkage porosity is usually a feeding problem. Better vents may help if gas is also present, but the feeder and filling sequence need review.
How do you know if porosity is coming from the melt or the die?
If porosity appears after a stop or a new melt, the melt is a likely cause. If it appears after tooling wear or a long run, the die surface and vents are more likely.